Building stairs requires careful planning, the right tools, and some installation know-how. Good rules of thumb are: when you add the height of a stair riser and tread width, the result should be to 17 - 18 in (430 - 460 mm). Risers usually rise 7 - 7-3/4 inches (180—200 mm) and treads usually run 10 in (255 mm). And once the stringers are installed they should sit at about a 35-degree angle. These measurements are somewhat adjustable, to make the stair assembly fit in an opening, for example.
1. Layout
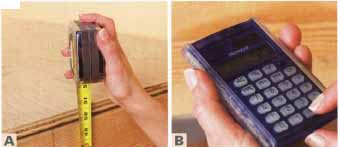
A. Measure the height (called “rise”) from
the floor to the landing, where the top of the stairs will
go. B. Divide the measurement by 7 or 7.5
to determine the number of risers the stringer needs. Round
this to the closest whole number. Re-divide the total rise
by this number.
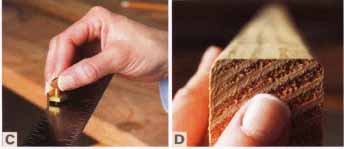
C. With riser height determined and tread
run known (10 in/255 mm) fasten brass stair gauges to your
framing square. D. Check your stringer stock.
Make sure it is straight. If there is a crown, place the crown
facing up.
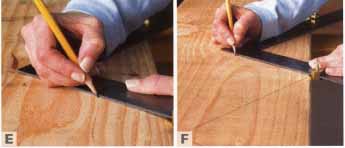
E. Place the square on the stringer stock.
Apply pressure with your thumb to keep it flat and scribe the
riser height. F. Without moving the square,
mark the tread run. Keep gentle, even pressure on the square
to keep it stable.
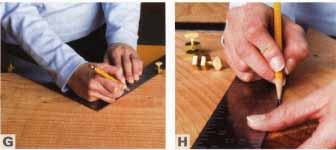
G. Step the square down the stringer stock
by placing it next to the previous mark. Repeat the process
until all stairs are marked. H. Remove the
stair gauges for the last mark so you can mark all the way
across the board.
2. Cutting Out
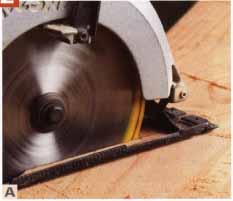
A. A circular saw is the ideal tool for cutting
most of the stringer, however, do not over cut the stringer.
Instead, use a hand saw to finish cuts. This ensures the stringer
stock (usually 2 x 12 in/50 x 300 mm) remains as strong as
possible for heavy use.
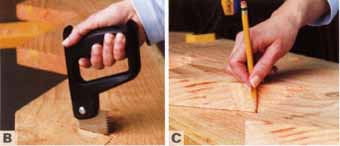
B. Using a sharp handsaw to finish circular
saw cuts ensures accuracy and ensures the stringer will be
as sturdy as possible. C. Clamp the pattern
piece to new stock and trace it. This ensures accuracy between
stringers, and speeds up the process.
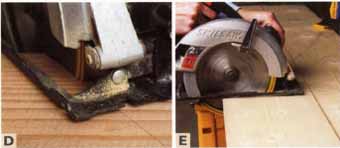
D. Cut carefully. Make sure you always keep
the saw blade on the same side of the line during every cut. E.
When cutting the bottom riser, be sure to cut it one-tread-thickness
shorter than all the other risers.
3. ATTACHING THE STAIRS
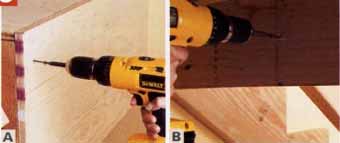
A. At the location where the stairs will contact
the landing, place riser stock (plywood) to create a connection
point for the stringers. B. Place the stringers
in place and on your layout marks. Fasten from behind the riser
stock.
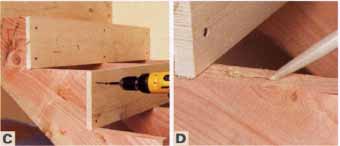
C. Install riser material on the stringers.
Cut each one exactly the same so the stair is the same width
at all points. D. To really fasten the treads,
glue and screw them down. This prevents squeaks and makes a
permanent bond.
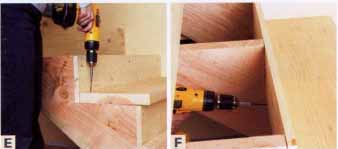
E. Use screws, rather than nails, to fasten
tread stock to the stringers. Screws will form a tighter bond
with the glue. F. Sink screws from behind
the riser stock into the edge of the tread. This binds everything
together into a unit.
4. ATTACHING THE RAIL
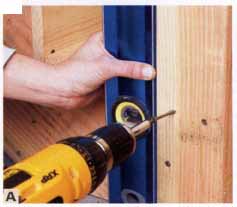
A. A sturdy rail is an important safety feature
of any stair. It is vital that they are built properly and
to local building code, to prevent accidents. The newel post
should be set plumb and fastened with screws while the rails
should follow the exact rise- angle of the stairs.
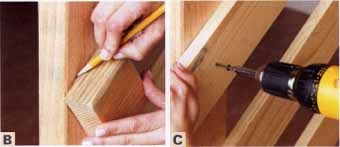
B. After running the bottom rail along the
stair nosings and fastening securely, use a block to transfer
the measurement up to the next rail piece. C.
Once you’ve marked where the next rail segment goes, fasten
it to the newel post with screws.
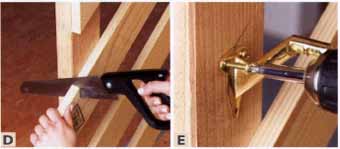
D. Run rail segments long and cut them off,
once fastened in place, with a handsaw. This saves you from
having to calculate angles and lengths. E.
Above the last rail, install a handrail. Install all handrail
hardware the same distance from the last rail section to maintain
the proper angle.

F. Pre-miter and fasten the railing returns.
Doing this prior to installation makes installation much easier.
Pre-drill each side of the miter and set nails to fasten. G.
Set the railing on the railing hardware and fasten from the
bottom side. It often helps to pre-drill holes to prevent splitting
the wood. H. Fastening all parts of the stair
together with screws and installing a sturdy railing are the
key to safe, sturdy stairs.
PREV: Staircase Maintenance
Home • •