|
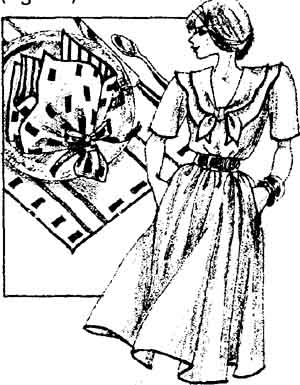
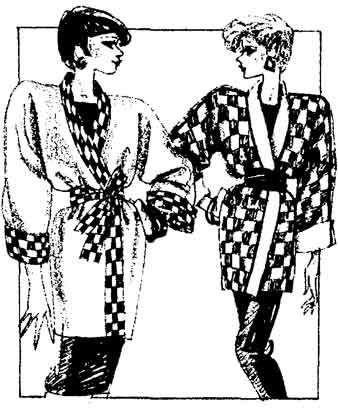
A Serger? What’s That If you’re reading this guide, either: 1. You already know what a serger is and want to learn more about this sewing phenomenon, or… 2. You’re saying, “What in the world is serging all about?” and are in for a pleasant surprise. When discussing our hobby / profession, the most common question we receive from our non-sewing friends and acquaintances is, “A serger? What’s that?” Our usual response: “It’s a special type of sewing machine that trims, stitches, and overcasts the edge at the same time. It makes the type of seams you see in T-shirts.” We also explain that sergers are faster and more compact than conventional sewing machines. (Fig. 1-1)
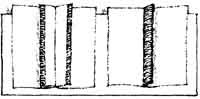
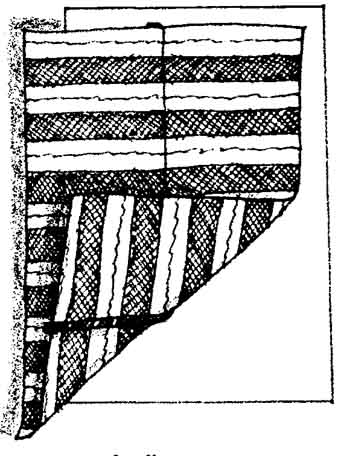
One major difference between a serger and a conventional sewing machine is that the serger uses loopers instead of a bobbin. Because the loopers are larger than a needle and don't pass through the fabric, they can be threaded with heavy decorative thread. But this also means that serging must be done on edges or folds. Sergers (also called overlock machines) were first developed for the industrial market. They were large, loud, and offered the seam stress little protection from the exposed knives used for trimming the fabric edge. In 1967, a Japanese company introduced the first home serger model, aimed at tailors, alteration shops, cottage industries, and people trained in professional factory methods. The popularity of home serging spread rapidly from Japan to the United States and other countries. As more and more American women joined the work force, serger sewing offered them both the speed they needed to fit home sewing into their busy schedules and the professional-quality results they required for their career wardrobes. It helps to think of the loopers acting like knitting needles, locking threads at the edge of the fabric and never needing to penetrate through it. Sergers have generated a renewal of interest and excitement in home sewing. Every major sewing machine company now markets overlock machines under its own brand name, and new serging techniques are being developed continually. What Can a Serger Do for You Working side by side with your sewing machine, a serger will add greatly to your sewing options. While your sewing machine is important for top-stitching and edge-stitching, numerous tailoring and couture techniques, and a myriad of decorative stitch options, a serger will duplicate many factory techniques including: + Rolled edges—For every thing from napkins to chiffon, serged rolled edges (see Section 14) provide a neat, attractive finish on a single-layer edge or hem. (Fig. 1-2)
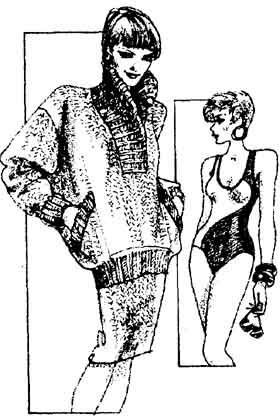
+ Ravel-free seam finishing— With your serger, you can finish allowances of straight-stitched seams or serge-seam and finish in one operation. Either way, your seam allowances will be neat, attractive, and ravel-free. (Fig. 1-3) + Stretch seaming—You can quickly and durably serge knits, swimsuits, and aerobic wear. The built-in stretch of most serged stitching keeps the thread from breaking when a seam is stretched. (Fig. 1-4)
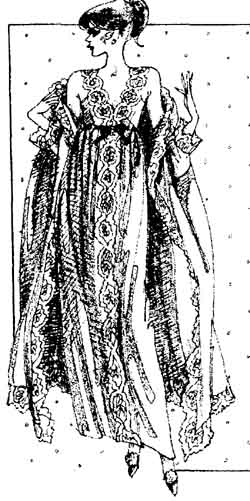
+ Pucker-free sewing—With proper tension settings, no matter how narrow the seam or how delicate the fabric, serged stitches form evenly over the serger’s stitch finger, preventing puckering. Lace, lingerie, and other difficult fabrics can be serged beautifully. (Fig. 1-5)
People who don’t own a serger think all they’re good for is to sew knits. Wrong! + Reversible options— Because serged stitching can be ornamental as well as practical, it can be used on the outside of a garment or for reversible garments. (Fig. 1-6)
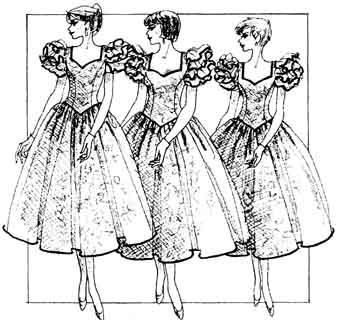
+ Even feeding—Two layers of fabric will feed evenly through the serger, making it easy to match stripes or other patterned fabric. You won’t need to worry about one layer slipping. (Fig. 1-7) + Speedy volume production—The serger’s quick seaming and finishing make light work of traditionally difficult-to-sew projects, such as curtains and multiple costumes. (Fig. 1-8)
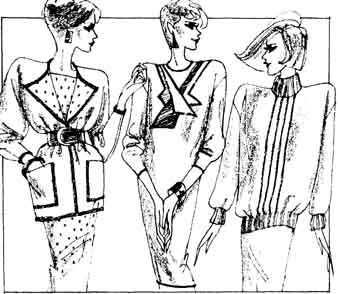
+ Decorative accents—Al though the sewing machine offers many decorative possibilities, the serger provides still more alternatives, many of which are featured in fashionable ready-to-wear. Decorative seaming, edging, and flatlocking are just the beginning of the many ornamental serging options available. (Fig. 1-9) How to Use This Guide Essentials of Serging is a step-by-step guide to help the first-time serger user master basic serging and avoid any pitfalls or frustrations. For best results, work through the sections in order without skipping around, practicing each skill as you proceed. Keep a notebook or workbook near your serger to save the best portion of all your test samples. Also record machine settings and other pertinent notes. Later, you can easily refer to them to refresh your memory and help plan future projects. If you teach, the samples will be invaluable as visuals. After you’ve had more serging experience and know some of the basics, keep this guide handy. Review those techniques you use less often by looking them up in the table of contents or the index. Or glance through the guide occasionally to recall handy techniques and applications you may have forgotten. Read the boxed pointers from our National Serger Teachers Advisory Board included through out the text. The board members, profiled at the beginning of this guide, are well-known serging professionals with extensive hands- on teaching experience. We asked each of them to give you tips and hints as you learn, just as if you were sitting in on one of their classes or seminars. When you come to a term you don’t understand or have forgotten from an earlier section, refer to our Glossary of Serging Terms. For example, when we refer to a straight-stitch, we mean straight-stitching on a conventional sewing machine, using a single line of stitching. You’ll find a definition in the glossary. If you are not able to find locally some of the thread and notions we mention in the text, you can purchase them through the mail. See Reliable Mail-order Sources, which follows the glossary, for a listing of our favorite serging supply sources. Tip: For quick reference, keep a chart of tension settings with samples attached on the bulletin board in your sewing area. Serger Shopping Guidelines Whether you are purchasing your first serger, trading up, or buying a second model (perhaps you want to leave one permanently adjusted for rolled edges?), you should follow a few simple guidelines. 1. Shop serger dealers in your area and ask about service and education. Both are very important factors for the long-term enjoyment of your machine. Many brands are comparable—the dealer makes the difference. 2. Decide what you will use the serger for. Finishing seams? Decorative techniques? Dressmaking? Draperies? All-purpose serging? Some brands and models are better suited for certain functions (rolled edges, decorative serging, heavy fabrics) than others. Skim through this guide to learn more about the options available to you. When you make a purchasing decision, keep in mind that no one serger does everything best. And, as a general rule, the more stitch types a machine offers, the more complicated it will be to use. For the best value, purchase a serger not for what you may need someday, but for what you will use often now. 3. Have the dealer show you the various features of each serger and recommend the best ones for your serging needs. Ask about the standard and optional features (see Section 2) that interest you. 4. Test any machines that meet the previous guidelines. Take along swatches of the fabric types you’ll be using most. If you’re interested in decorative serging, also bring some pearl cotton and rayon thread. If necessary, ask the dealer for help with threading and adjusting. Spend some time using the machines, and see how you like the results. Don’t let a sales person do all the testing for you. Consider taking a small group class to learn about sergers and get some hands-on experience before making your final purchasing decision. 5. Check to see if an instructional workbook is available for your model. Some manufacturers also offer brand- or model-specific videos to help you learn more quickly. We are often asked which serger brand and model we recommend, but that’s impossible to answer accurately. There are no “bad” machines on the market and there are no “perfect” ones either. Each has its unique advantages. The key to your serging pleasure is finding the one that's best for your specific needs. TIP: Read the manual and try to follow the instructions to perform a special function on that model. Be sure the directions are clear and easy to understand. |
| PREV: Guide Intro and Outline | NEXT: Before You Begin | More Serging Articles |
Sunday, 2010-04-04 1:57
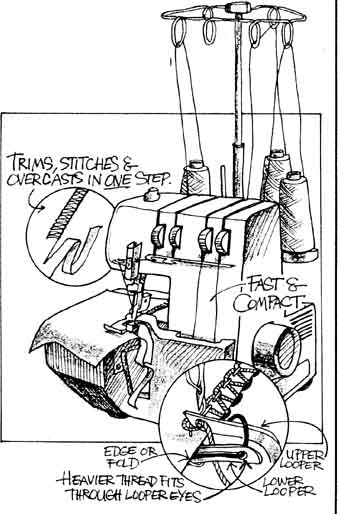 Fig. 1-1: What is a serger?